Saturday, March 3, 2012

G&G/Dueba Shinny Aqua (Puffy 3 tone) Review!

OH GEEZZZ another crazy lens purchase from candylens.com (I really love this site), it's about that time for my yearly craze with these circle lens.  Mainly, though, I get them for my cosplay, Sakura Con is coming around the corner!!! Next month! The cosplay line up will be discussed in another post, but for now I gotta tell you about these circle lens..


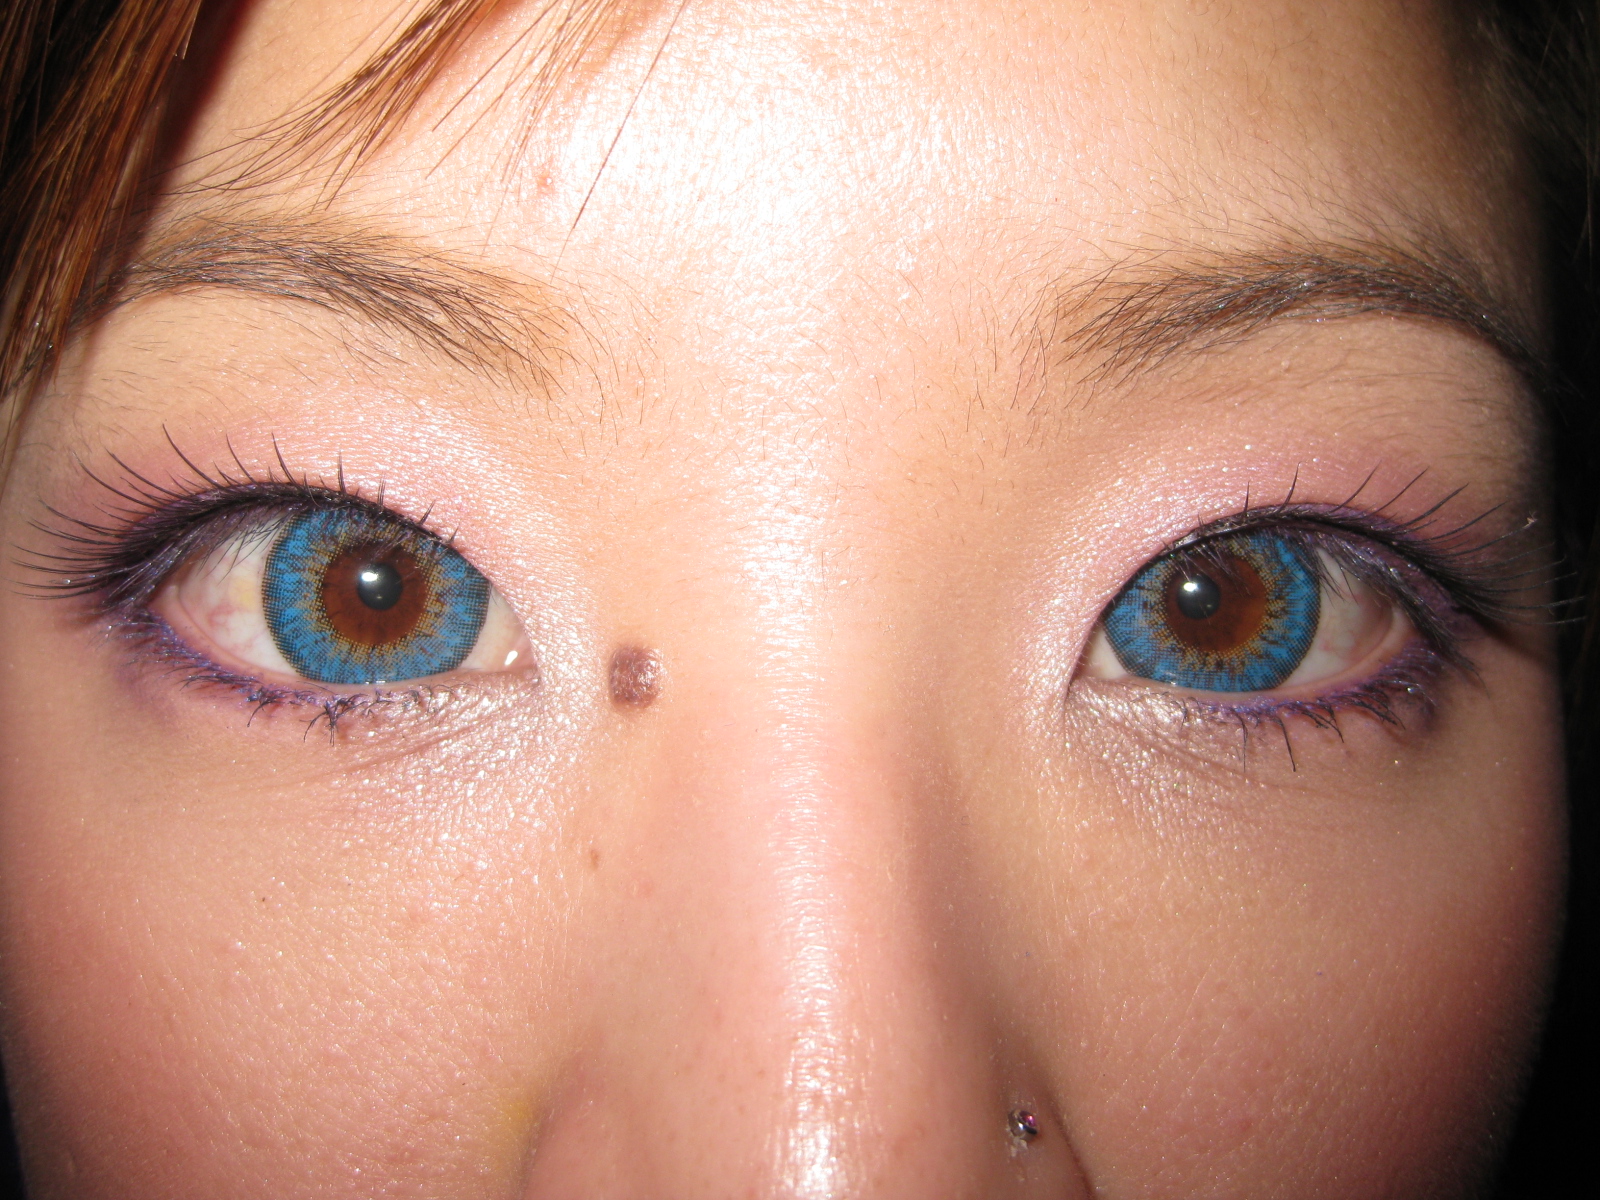
I dunno, sometimes I feel weird wearing colored lenses, i mean, other than like brown or whatever, and sometimes they just look all weird and funny on me because of my eye shape.  My bf thinks they're hideous and unnatural - yes unnatural, but fun :) hahahaha.  Anyways so I purchased these from candylens.com and they are the G&G/Dueba brand, color called Shinny Aqua, or also known as the Puffy 3 tone. As you can see from the photos below, the contact lenses are made of 3 tones.  I purchased these in green as well in the same brand, but I only have the blue ones with me where I am.  I plan to cosplay as Ciel Phantomhive in the dress that he wears (YES, i am cosplaying a crossplayer. ... ) and his eyes are blue.  Anyways with some eyelashes and careful positioning of these lashes, I was able to make my eyes appear slightly ...larger... so that the big lenses wouldn't look THAT funny on me. 


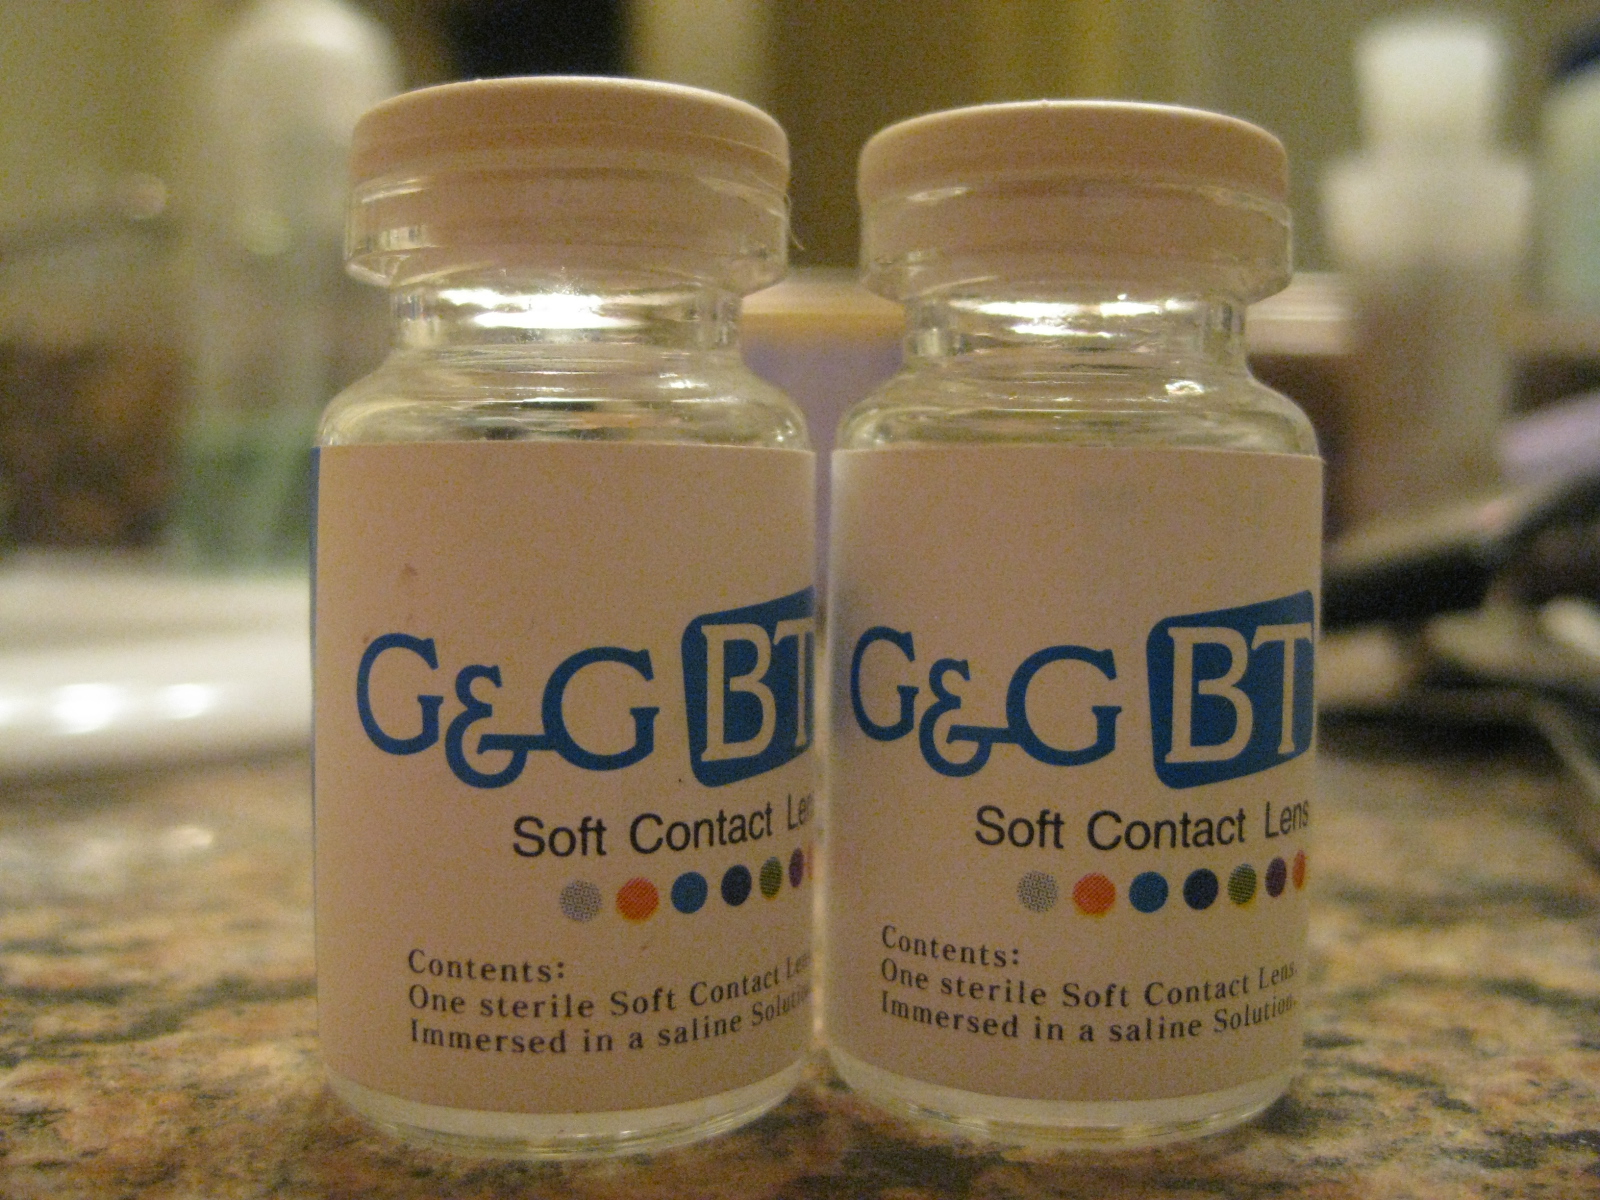
Original containers
3 tones.. see?
No contacts!
No flash
With flash

Not so serious face
Ok fine smiley face.. 
 I dunno - honestly I don't think it looks that bad on me.... hahaha but I did opt for the "less crazy" kind; i find that the multiple toned contacts just look less fake, a little bit more "natural" (aside from the unnatural blue being on an asian).  


Comfort wise - I'd say 8/10.  The water content is listed as 38%, but surprisingly they are comfortable and I am quite happy with them! It's just that when I put them on, it took a few minutes for me to adjust because it was a little irritating but after blinking a few times it was a-OK.  


Overall, I love the color, I love the fit, and I can't wait to try on the green and wear these to Sakura Con 2012! 


Monday, January 23, 2012

Miss Piggy!

I crocheted a gigantic pig for Abby's birthday present; all credit goes to designshop.  it was fun doing this! though I had the hardest time tryin to attach the limbs.. i always do :( So I made a scarf (UW colored!) so at least make the head-to-body attachment hidden cuz it looks so funny!


Anyways here are those photos! I'm just glad it took an entire skein of pink Red Heart and none more!


Pretty cute pig!!! 

Thursday, January 5, 2012

Christmas Pottery Presents!!

So this christmas I painted two potteries! I'm actually quite happy with how they came out, and i'm also very jealous and would like to make one of them for myself!!! And i will.. SOON.


I thought I was quite creative this time around, and i'm also very proud!


Here are before and after photos!


NINTENDO PLATE!! <3
Right after it was painted. NO STENCIL! I'm just that awesome :)


After the glaze! oh boy.  This was lovely.  I want.

Next, I made a .... DOGGY BANK! I mean, obviously meant to be a piggy bank.. but painted like a dog, more like Abby's dog as you can see below where she placed it right next to her puppy!
Before glazed

Isn't that cute? hahahaa.  I think i should have made the body a little bit more brown but oh well!
ok so, I .. want to paint myself a nintendo platter now.................

Wednesday, January 4, 2012

Santa's Little Helper Cat!

Well first of all, HAPPY NEW YEAR!
However, let's back track a little bit since I'm obviously a little behind with what i'm about to show you all (hence the title of the post).


The christmas season was quite busy, and getting that time off to be with my family and other half was extremely busy I just didn't have time to post Fibby's new outfit!


I originally meant to put Butternut (my family's persian cat) into the Santa outfit I made last year for Fibby and with Fibby in his new Elf outfit and take photos of them side by side. But I just didn't get that chance :(


Well here's the outfit! Again, credit goes to Diy Maven for the sweater; I modified again and elongated it, and then added in the others.  


Enjoy!


I didn't actually end up making a "chin strap" on the hat, i don't know why. I guess I just didn't think about it! 


But anyways, Fib as usual doesn't care so much about having these sweaters on, and ended up sleeping with them on with me, purring away! It's just great to have a dog-like cat!


Monday, November 14, 2011

Husky Cat!!

GO HUSKIES! 
Apple Cup is quickly approaching (November 26)!
And it's that time to dress the cat up again!
Sweater pattern is by DIY Maven, the patterns in the sweaters all done by me.


GO HUSKIES! 

Web of Winter Slouchy Hat

I just made a gorgeous hat!! I love it.  it was made from Lamb's Pride Bulky wool, and it was followed from a pattern by Natalie Thouret Brock.  I absolutely love this hat.  


Here are some photos!


New favorite hat! :)

And of course the cat was involved too.

<3

Tuesday, November 8, 2011

Soul Eater: Death the Kid Beanie Slouch (Pattern)

OK! So I totally forgot I had a pattern for this, even after I said I would post one!! Just a reminder this is Death the Kid from that anime:

And here's my beanie:

And now the pattern:
Preface: One thing about this pattern is that I like to make a "faux" double crochet instead of the usual chain 2 that you normally start a new row with that *acts* as a dc.  You may choose to do the usual chain 2 after you complete a round to start a new round, or you may choose to try the faux double crochet.  I love doing the "faux" way because it looks more natural.
Please see this youtube video: How to do a Faux (no chain) Double Crochet

Hook: J
If you'd like a tighter fit, change to lower hook size
With main color (black):
Row 1: Magic ring with 9 dc, slip stitch into top of first dc.
Row 2: ch 2 OR faux dc into the same stitch, another dc in the same stitch.  2 dc in each dc around. slip stitch into top of ch 2 or faux dc. (18)
Row 3: faux dc into same stitch, 2 dc in the next dc. *dc in the next dc, 2 dc in the next dc.* repeat * to * around.  slip stitch into top of faux dc (27)
Row 4: faux dc in same stitch, dc in the next dc, 2 dc in the next. *dc in the next 2 dc, 2 dc in the next* repeat * to * around. slip stitch into top of faux dc (36)
Row 5: faux dc in same stitch, dc in the next 2 dc, 2 dc in the next. *dc in the next 3 dc, 2 dc in the next* repeat * to * around. Slip stitch into top of faux dc. (45)
Row 6: faux dc in same stitch, dc in the next 3 dc, 2 dc in the next. *dc in the next 4 dc, 2 dc in the next* repeat * to * around. Slip stitch into top of faux dc. (56)
Row 7: faux dc in same stitch, dc in the next 7 dc, 2 dc in the next.  *dc in the next 8 dc, 2 dc in the next* repeat * to * around. Slip stitch into top of faux dc. (60)
Row 8: faux dc in same stitch, dc in the next 8 dc, 2 dc in the next.  *dc in the next 9 dc, 2 dc in then next* repeat * to * around. Slip stitch into top of faux dc. (66)
Row 9: faux dc in same stitch, dc in every dc. Slip stitch into top of faux dc. (66)
Row 10: repeat Row 9.  switch to white yarn (66)

Row 11: with white: faux dc in same stitch, dc in next 32 dc.  switch to black yarn, dc in next 33 dc. Slip stitch into top of faux dc, switch to white yarn.  (66)
Row 12: repeat Row 11 (66)
Row 13: repeat Row 11, but do not switch to white yarn at the end. (66)
Row 14-15: with black: dc in every dc. (66)

Ok! that's it! Just make sure you switch colors correctly, I tried to explain it but it just sounded confusing.. 

Lemme kno if there are any questions! I listed the total stitches at the end of each row just in case I screwed up somewhere in there.  Have fun!